
Featured 3D-Printed RC Car Projects
-
3D Printed RC Car – MadBaxRC 1/18 Scale DIY STL Files
Regular price $0.99 USDRegular price -
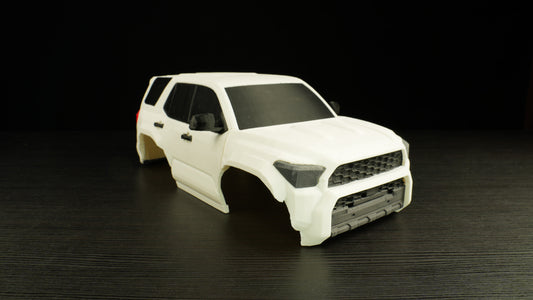
3D Printed Toyota 4Runner-Style Body Shell for MadBaxRC
Regular price $9.99 USDRegular price$29.99 USDSale price $9.99 USDSale -
3D Printed Toyota 4Runner-Style RC Car - Complete Body & Chassis (STL & 3MF Files)
Regular price $9.99 USDRegular price$39.99 USDSale price $9.99 USDSale


What You Get
- Print-ready STL & 3MF files for the full RC car
- Complete electronics and hardware BOM
- Proven designs tested in real driving conditions
- Assembly and testing videos on YouTube
These are digital files. You print and assemble the RC car yourself.

About the Maker
I’m Eugene, an engineer and maker who builds real, working machines - from 3D-printed RC cars and FPV vehicles to robotic and electronic systems. I document the full build and testing process on my YouTube channel and share the exact files and parts lists so others can build and improve these projects themselves.

Is This for You?
✅ You have a 3D printer
✅ You enjoy building and tuning
✅ You want real RC performance
✅ You prefer projects over toys
❌ You want a ready-to-drive toy
❌ You don’t want to assemble anything
❌ You expect plug-and-play
